This manual details the Canon EOS Rebel G, a fully automatic, ultracompact 35mm SLR camera. It’s designed for simple operation, yet offers advanced photographic controls and a quiet film transport system.
Overview of the Camera
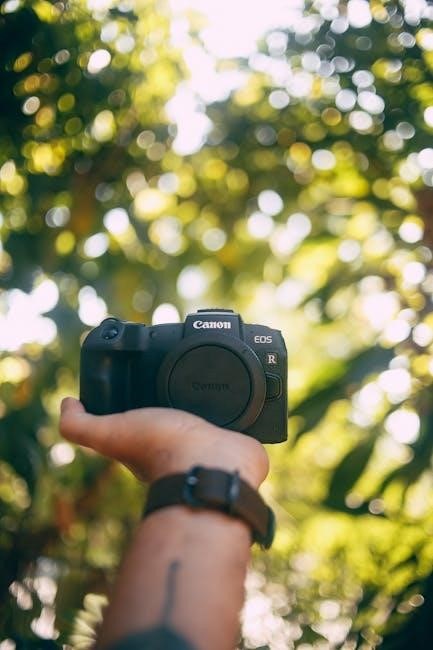
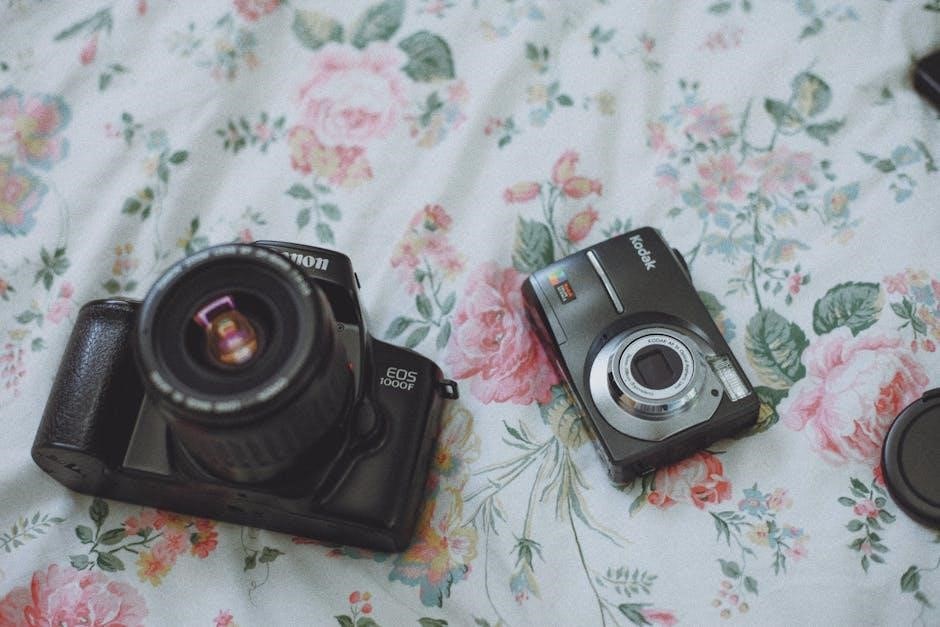
The Canon EOS Rebel G is an autofocus, single-lens reflex (SLR) camera renowned for its compact design and user-friendly features. It incorporates a built-in, retractable flash for versatile lighting options and is compatible with Canon EF zoom lenses, expanding creative possibilities.
Inheriting features from previous models, the Rebel G boasts a silent film transport system with pre-wind functionality, ensuring quiet operation. This 35mm camera provides both automatic and advanced manual controls, catering to photographers of all skill levels.
Key Features and Benefits
The EOS Rebel G offers a high-speed, selectable 3-point autofocus system, enhanced by AI Focus mode for tracking moving subjects effectively. Its ultracompact design ensures portability, while the retractable flash provides convenient illumination.
Benefits include ease of use for beginners, alongside advanced controls for experienced photographers. The quiet film transport system is ideal for discreet shooting, and compatibility with EF lenses allows for lens versatility. This camera delivers quality images in a convenient package.
Intended Audience for this Manual
This manual is designed for both novice and experienced photographers utilizing the Canon EOS Rebel G film SLR camera. It caters to individuals seeking to understand the camera’s basic functions and explore its advanced capabilities.
Whether you are new to SLR photography or transitioning from other systems, this guide provides clear instructions for optimal operation. It aims to empower users to confidently capture high-quality images with this versatile camera.

Camera Components and Controls
The Canon EOS Rebel G features intuitive controls, including a command dial, shutter button, mode dial, and a clear LCD screen for easy operation and review.
Front View: Lenses and Release Button
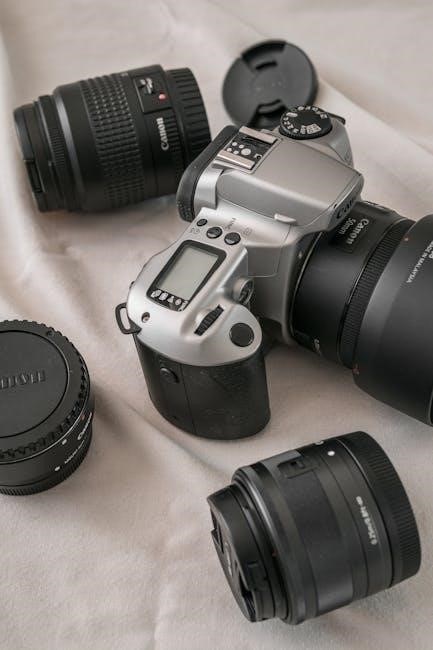
The front of the Canon EOS Rebel G is dominated by the Canon EF lens mount, accepting various compatible zoom lenses for versatile shooting options. Crucially, the lens mount ensures secure attachment and electronic communication. You’ll also find the lens release button, used to detach lenses when changing them. This button requires a specific pressing technique to avoid accidental release. The camera body itself is designed to be compact, maintaining a streamlined profile even with a lens attached, contributing to its portability.
Top View: Command Dial, Shutter Button, and Mode Dial
The top panel of the EOS Rebel G features essential controls. The Command Dial facilitates menu navigation and settings adjustments, offering intuitive operation. Centrally located is the Shutter Button, initiating the photographic process. Most importantly, the Mode Dial selects shooting modes – Automatic, Program, Shutter-Priority, and Aperture-Priority – granting creative control. These controls are ergonomically positioned for comfortable and efficient handling during operation, enhancing the user experience.
Rear View: LCD Screen, Buttons, and Viewfinder
The rear of the Canon EOS Rebel G houses key components for image review and camera control. The LCD Screen displays captured images and menu options, aiding in composition and settings verification. Surrounding the screen are buttons for navigating menus and adjusting camera functions. A clear optical Viewfinder allows for direct visual framing of shots, providing a traditional shooting experience. These elements combine to offer a comprehensive and user-friendly interface.
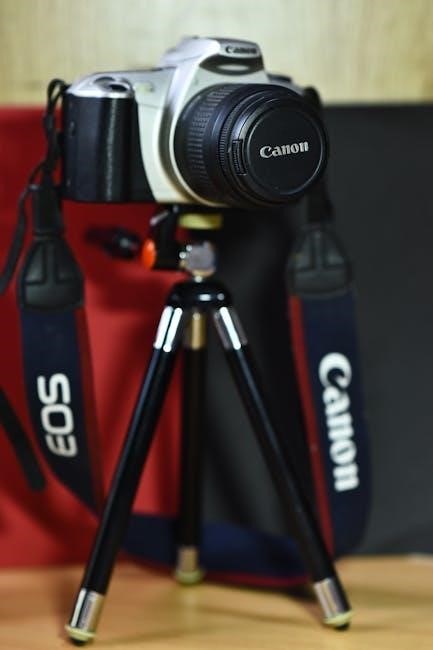
Bottom View: Battery Compartment and Tripod Socket
Located on the base of the Canon EOS Rebel G are essential features for power and stability. The Battery Compartment securely holds the camera’s power source, ensuring reliable operation during shooting sessions. Adjacent to this is the Tripod Socket, a standard threaded mount allowing for secure attachment to a tripod. This enables stable, long-exposure photography and precise framing, minimizing camera shake for sharper images.
Getting Started: Basic Operations
Initial setup involves installing batteries, correctly loading film, and performing a basic camera setup to ensure proper functionality before capturing your first photographs.
Installing the Battery
To install the battery, locate the battery compartment on the bottom of the Canon EOS Rebel G. Open the compartment door and insert the specified battery type, ensuring correct polarity as indicated by the markings inside. Securely close the battery door.
Confirm the battery is properly installed by attempting to power on the camera. A low battery indicator on the LCD screen will alert you when replacement is needed, ensuring uninterrupted shooting. Always use recommended batteries for optimal performance.
Inserting and Removing Film
To insert film, open the camera’s back cover using the film release latch. Place the 35mm film cartridge into the film chamber and thread the film leader onto the take-up spool. Gently advance the film using the film advance lever until it engages.
To remove film, press the film rewind button and turn the rewind crank until the film is fully retracted. Open the back cover and remove the film cartridge. Proper film handling ensures optimal image quality.
Loading Film Correctly
Ensure proper loading by confirming the film leader is securely attached to the take-up spool. Advance the film a couple of times, observing the rewind knob to verify it rotates, indicating film advancement. If it doesn’t, the film isn’t loaded correctly.
Avoid forcing the film; gentle operation prevents damage. After loading, close the camera back securely before shooting. Incorrect loading can result in blank or improperly exposed images.
Initial Camera Setup
Begin by installing a fresh battery into the battery compartment, ensuring correct polarity. Next, load the film following the detailed instructions – proper loading is crucial. After film loading, the camera automatically resets.
Verify the date and time are correctly set using the camera’s menu system. Familiarize yourself with the command dial and mode dial for basic operation. A quick review of the LCD screen’s icons will aid understanding.

Shooting Modes Explained
The EOS Rebel G offers Automatic, Program (P), Shutter-Priority (Tv), and Aperture-Priority (Av) modes, providing varying levels of control over image capture.
Automatic Mode
In Automatic mode, the Canon EOS Rebel G handles all exposure settings – aperture, shutter speed, and ISO – automatically. This makes it incredibly user-friendly for beginners or situations demanding quick snapshots. The camera evaluates the scene and selects optimal settings for proper exposure.
The built-in flash automatically activates when needed, ensuring sufficient illumination. While convenient, Automatic mode offers limited creative control; photographers relinquish direct influence over the final image’s appearance. It’s ideal for everyday photography where simplicity is paramount.
Program Mode (P)
Program Mode (P) offers a balance between automatic convenience and creative control on the Canon EOS Rebel G. The camera automatically sets both aperture and shutter speed, but allows the photographer to adjust other settings like white balance and exposure compensation.
This mode is excellent for situations where you want the camera to handle the core exposure, while still retaining some influence over the final image. It’s a step up from full Automatic, providing more flexibility without the complexity of manual settings.
Shutter-Priority Mode (Tv)
Shutter-Priority Mode (Tv) on the Canon EOS Rebel G allows you, the photographer, to directly control the shutter speed. This is incredibly useful for capturing motion – either freezing it with a fast shutter speed, or blurring it intentionally with a slower one.
The camera will automatically calculate the appropriate aperture to achieve correct exposure based on your chosen shutter speed. This mode is ideal for sports photography, or creatively depicting movement within a scene.
Aperture-Priority Mode (Av)
Aperture-Priority Mode (Av) empowers you to select the desired aperture, directly influencing the depth of field in your photographs. A wider aperture (smaller f-number) creates a shallow depth of field, ideal for isolating subjects with a blurred background.
Conversely, a narrower aperture (larger f-number) maximizes depth of field, keeping both foreground and background sharp. The camera automatically sets the shutter speed for proper exposure, offering creative control over focus and clarity.
Autofocus System
The Canon EOS Rebel G features a high-speed, selectable 3-point autofocus system, enhanced with AI Focus mode for tracking moving subjects effectively.
Understanding the 3-Point Autofocus
The Rebel G’s 3-point autofocus system utilizes three strategically positioned sensors within the viewfinder to achieve sharp focus. These sensors allow the camera to quickly lock onto your subject, even if it’s not directly in the center of the frame. The camera automatically selects the optimal sensor based on the subject’s position.
This system enhances focusing speed and accuracy, particularly beneficial when photographing dynamic scenes. Users benefit from improved performance when capturing subjects that are slightly off-center, offering greater compositional flexibility. The system contributes to consistently sharp images.
AI Focus Mode: Tracking Moving Subjects
AI Focus mode intelligently tracks moving subjects, seamlessly switching between Single and Continuous Autofocus. Initially, the camera behaves like Single Autofocus, locking focus on a stationary subject. However, upon detecting movement, it automatically transitions to Continuous Autofocus, maintaining focus as the subject moves within the frame.
This mode is ideal for unpredictable subjects, eliminating the need to manually switch autofocus modes. It provides a convenient solution for capturing action shots with consistently sharp results, enhancing your photographic capabilities.
Single Autofocus (One-Shot)
Single Autofocus, also known as One-Shot, is perfect for stationary subjects. When you half-press the shutter button, the camera locks focus on the subject within the selected autofocus point. The focus remains locked even if you recompose the shot.
This mode ensures the subject remains sharp when the shutter button is fully pressed. It’s ideal for portraits, landscapes, and any situation where the subject isn’t moving, providing consistent and reliable focus.
Continuous Autofocus (AI Servo)
Continuous Autofocus, labeled AI Servo, excels at tracking moving subjects. When you half-press the shutter button, the camera continuously adjusts focus as the subject’s distance changes. This dynamic tracking ensures the subject remains sharp throughout the shot, even during unpredictable movements.
Hold the shutter button down to maintain focus while following the subject. It’s best for sports, wildlife, or any action photography where consistent focus is crucial.
Using the Built-in Flash
The EOS Rebel G features a retractable, auto pop-up flash with modes for Auto, On, and Off, offering versatility for various shooting conditions and creative control.
Flash Modes: Auto, On, Off
The Canon EOS Rebel G’s built-in flash offers three distinct modes. Auto mode automatically fires the flash when the camera determines insufficient light, ensuring proper exposure. On mode forces the flash to fire with every shot, useful for fill-flash or creative effects.
Off mode disables the flash entirely, allowing for shooting in low-light conditions without flash illumination, or when external lighting is preferred. Understanding these modes provides control over image brightness and artistic expression, adapting to diverse photographic scenarios.
Flash Exposure Compensation
Flash Exposure Compensation allows fine-tuning of flash output for brighter or darker images. This feature is crucial when the automatic flash setting doesn’t achieve the desired result. Adjusting compensation values (+/-) modifies the flash intensity, preventing overexposure in bright scenes or underexposure in dark environments.
Experimentation is key to mastering this control, ensuring balanced and well-exposed photographs. It provides creative control, allowing photographers to tailor flash output to specific shooting conditions and artistic preferences.
Red-Eye Reduction
Red-eye reduction minimizes the common photographic flaw where subjects’ eyes appear red due to the flash reflecting off the retina. The Canon EOS Rebel G utilizes a pre-flash sequence to constrict the subject’s pupils before the main flash fires, lessening the red-eye effect.
Activation of this mode is essential in low-light conditions. While effective, it may slightly increase the time between pressing the shutter and the flash firing, so patience is advised for optimal results.
Flash Range and Limitations
The built-in flash of the Canon EOS Rebel G offers effective illumination within a specific range, typically between 0.7m (2.3ft) and 6.2m (20.3ft) at ISO 100. However, flash performance diminishes with increased distance or higher ISO settings.
Factors like reflective surfaces or the subject’s distance can impact the flash’s effectiveness. Understanding these limitations ensures optimal image quality and avoids underexposed or washed-out photographs.
Understanding the LCD Screen
The LCD screen displays crucial shooting information and allows image review. Brightness is adjustable for optimal visibility in various lighting conditions, enhancing user experience.
Displayed Information and Icons
The LCD screen presents a wealth of information during and after shooting. Expect to see the shooting mode, shutter speed, aperture setting, and autofocus status clearly indicated. Battery level and frame counter are also prominently displayed. Various icons communicate flash readiness, exposure compensation levels, and other critical settings.
Understanding these icons is key to mastering the camera’s functions. The manual provides a detailed explanation of each symbol, ensuring you can quickly interpret the camera’s status and adjust settings accordingly for optimal results.
Reviewing Images on the LCD
After taking a photo, the image automatically appears on the LCD screen for a brief review period. You can extend this viewing time using the camera’s controls, allowing for careful assessment of focus and exposure. The playback function also enables you to scroll through previously captured images.
Utilize the zoom function to examine details closely. The LCD facilitates quick image evaluation, helping you identify areas for improvement and refine your photographic technique. Remember to conserve battery life by limiting prolonged LCD use.
Adjusting LCD Brightness
The Canon EOS Rebel G allows you to customize the LCD screen’s brightness for optimal viewing in various lighting conditions. Access the camera’s menu system to locate the LCD brightness setting. Adjust the level to ensure clear visibility without excessive battery drain.
A brighter setting is useful in direct sunlight, while a dimmer setting conserves power and is preferable in low-light environments. Experiment to find the ideal brightness level for comfortable image review.
Advanced Settings and Customization
Explore settings like white balance, exposure compensation, film speed (ISO), and date/time to personalize your Canon EOS Rebel G for specific shooting scenarios.
White Balance Adjustment
The Canon EOS Rebel G offers automatic white balance for most situations, ensuring accurate color rendition. However, for challenging lighting, consider utilizing custom white balance settings if available through compatible lenses. This feature allows photographers to fine-tune color temperature, correcting for warm or cool casts. Proper white balance is crucial for achieving natural-looking photographs, especially when shooting under fluorescent or incandescent lights. Experimenting with these adjustments can significantly enhance image quality and color accuracy, providing greater creative control over your final results.
Exposure Compensation
Exposure compensation on the Canon EOS Rebel G allows you to override the camera’s automatic exposure settings. This is particularly useful in situations with strong backlighting or unusually bright/dark subjects. By using the +/- button, you can instruct the camera to brighten or darken the image, preventing under or overexposure. Adjustments are typically made in steps of 1/2 or 1 EV. Mastering exposure compensation ensures you capture the intended brightness and detail in challenging lighting conditions, resulting in well-balanced photographs.
Film Speed Setting (ISO)
The Canon EOS Rebel G automatically detects the ISO speed of the loaded film via DX coding. However, if using film without DX coding, or if the camera misreads the code, you must manually set the ISO. This is crucial for correct exposure. Use the control dial to select the appropriate ISO setting (typically 25, 50, 100, 200, 400, or 3200). Incorrect ISO settings will lead to improperly exposed images, so always verify the setting before shooting.
Date/Time Setting
The EOS Rebel G allows imprinting the current date and/or time on your photographs. To set the date and time, access the camera’s menu system using the LCD screen and control buttons. Navigate to the date/time setting option and use the dial to adjust the year, month, day, hour, and minute. Accurate date/time setting ensures proper chronological organization of your photos and correct imprinting on images.

Troubleshooting Common Issues
This section addresses frequent problems like the camera failing to power on, film transport issues, autofocus malfunctions, and a non-functioning flash unit.
Camera Not Turning On
If the camera doesn’t power on, first ensure the battery is correctly installed with the proper polarity. Check the battery contacts for any corrosion or debris, cleaning them gently if needed. A depleted battery is a common cause; replace it with a fresh one.
Verify the battery compartment cover is securely closed, as a safety mechanism prevents operation when it’s open. If these steps fail, the issue might be internal, requiring professional repair. Do not attempt to disassemble the camera yourself.
Film Not Advancing
If the film isn’t advancing, ensure it’s loaded correctly and the film leader is properly engaged with the take-up spool. Confirm the film compartment door is fully closed, as the camera won’t operate if it’s ajar. A full film roll will also prevent further advancement.
Check for jammed film; carefully rewind and reload. If the problem persists, the camera’s film transport mechanism may require professional servicing. Avoid forcing the film advance lever.
Autofocus Problems
If autofocus isn’t functioning, verify sufficient lighting conditions, as the 3-point autofocus system requires adequate illumination. Ensure the lens is clean and properly attached. Try switching between AI Focus, One-Shot, and AI Servo modes to see if a different mode resolves the issue.
Confirm the subject is within the autofocus points’ range. If problems continue, the lens or camera’s autofocus mechanism may need professional attention.
Flash Not Firing
If the flash doesn’t fire, first check the flash mode setting – ensure it’s not set to ‘Off’. Verify the battery has sufficient charge, as a low battery can prevent flash operation. Confirm the camera detects low light; the flash won’t fire in bright conditions.
Also, ensure nothing obstructs the flash unit. If issues persist, the flash circuitry might require servicing by a qualified technician.
Maintenance and Care
Regular cleaning of the camera body and lens is crucial for optimal performance. Store batteries properly and the camera in a dry, safe location.
Cleaning the Camera Body
To maintain your Canon EOS Rebel G, regularly wipe the exterior with a soft, dry cloth. For stubborn smudges, slightly dampen the cloth with water, ensuring no liquid enters the camera. Avoid using solvents or abrasive cleaners, as these can damage the finish. Pay particular attention to the viewfinder and LCD screen, using a lens cleaning tissue for gentle cleaning. Dust accumulation around the film compartment should be carefully removed with a blower, preventing scratches. Consistent, gentle cleaning will preserve the camera’s appearance and functionality.
Lens Care
Protecting your Canon EF lenses is crucial. Use a blower to remove dust before cleaning. Gently wipe the lens surface with a soft lens cleaning cloth, using lens cleaning fluid sparingly if needed. Avoid excessive pressure, and always wipe in a circular motion. Store lenses with caps on, in a dry environment. Never touch the glass elements with your fingers. Regular cleaning and careful storage will ensure optimal image quality and prolong the life of your valuable lenses.
Battery Storage
To maximize battery life when not in use, remove the battery from the Canon EOS Rebel G. Store batteries in a cool, dry place, away from direct sunlight and extreme temperatures. Avoid short-circuiting the terminals by keeping them separate from metal objects. Do not store fully discharged batteries for extended periods, as this can cause damage. Periodically check and recharge batteries if storing for a long time to maintain optimal performance.
Proper Storage of the Camera
When storing your Canon EOS Rebel G for an extended period, ensure it’s in a dry, dust-free environment. A camera case is highly recommended for protection. Remove the battery to prevent potential leakage and corrosion. Avoid storing the camera in direct sunlight, extreme temperatures, or high humidity. Regularly check the camera for any signs of mold or deterioration, especially if stored in a damp location.