Chain Link Fence Installation Guide: A Comprehensive Plan
Planning a secure perimeter? This guide details chain link installation, covering everything from initial layout to final touches, ensuring a durable and attractive boundary.
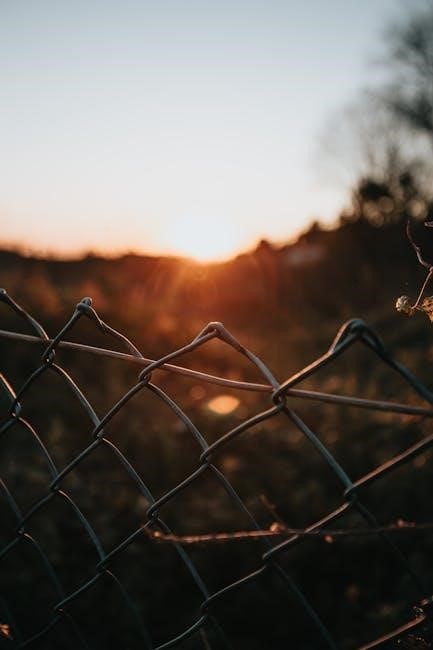
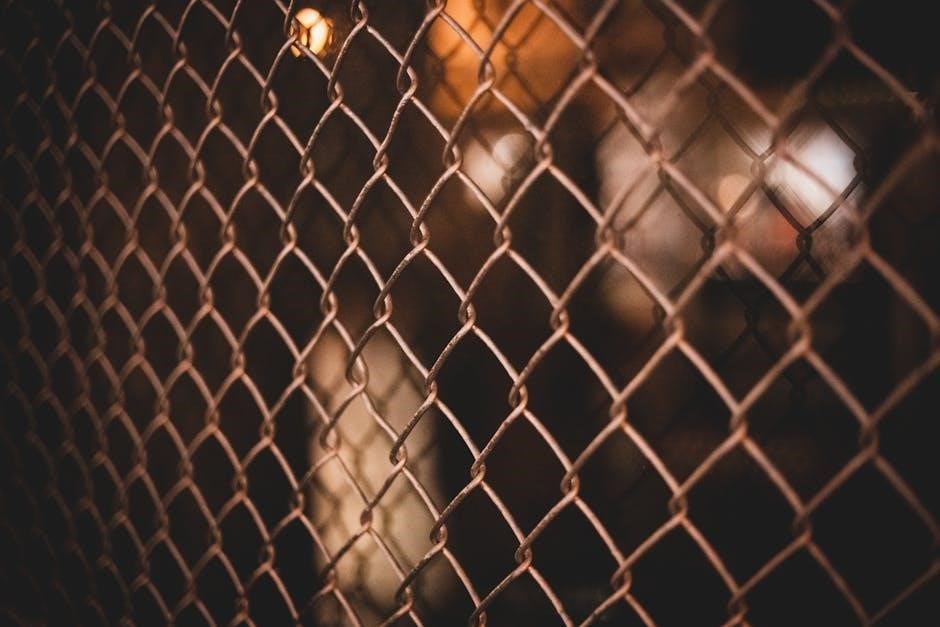
Chain link fences represent a practical and cost-effective fencing solution, widely utilized for security, pet containment, and defining property lines. Their open-weave construction offers visibility while providing a robust barrier. Historically favored for industrial and commercial applications, chain link has gained popularity in residential settings due to its affordability and durability.
Understanding the components – posts, fabric, rails, and fittings – is crucial for successful installation. This guide will navigate you through each step, from initial planning and material selection to the final tensioning and finishing touches. Properly installed, a chain link fence offers years of reliable service.

Benefits of Chain Link Fencing
Chain link fencing delivers numerous advantages, starting with its affordability compared to other fencing materials like wood or vinyl. It requires minimal maintenance, resisting rot, decay, and insect damage. Security is a key benefit, effectively deterring trespassers and containing pets or children.
The open weave design allows for visibility, which is ideal for security monitoring or maintaining views. Chain link is also incredibly durable, withstanding harsh weather conditions. Furthermore, it’s a versatile option, easily customizable with privacy slats for added seclusion.
Tools and Materials Required

Successful installation demands the right tools! You’ll need post hole diggers, concrete mixing tools (wheelbarrow, shovel), a level, measuring tape, and string line. Essential tools also include a fence stretcher (come-along), pliers, wire cutters, and a hammer.
Materials include chain link fabric, posts (steel or aluminum), top rail, tension bands, brace bands, post caps, gate hardware, and concrete mix. Don’t forget fasteners like bolts and screws – quality materials ensure longevity and a secure fence.
Post Materials (Steel, Aluminum)
Post selection is crucial for fence stability. Galvanized steel posts are the most common, offering strength and affordability. They resist rust but can eventually corrode. Aluminum posts are lighter, rust-proof, and ideal for corrosive environments, though generally less strong.
Post gauge (thickness) impacts strength; heavier gauges are better for taller fences or high-wind areas. Consider the post’s diameter and wall thickness when choosing. Proper post material selection ensures a long-lasting, secure fence.
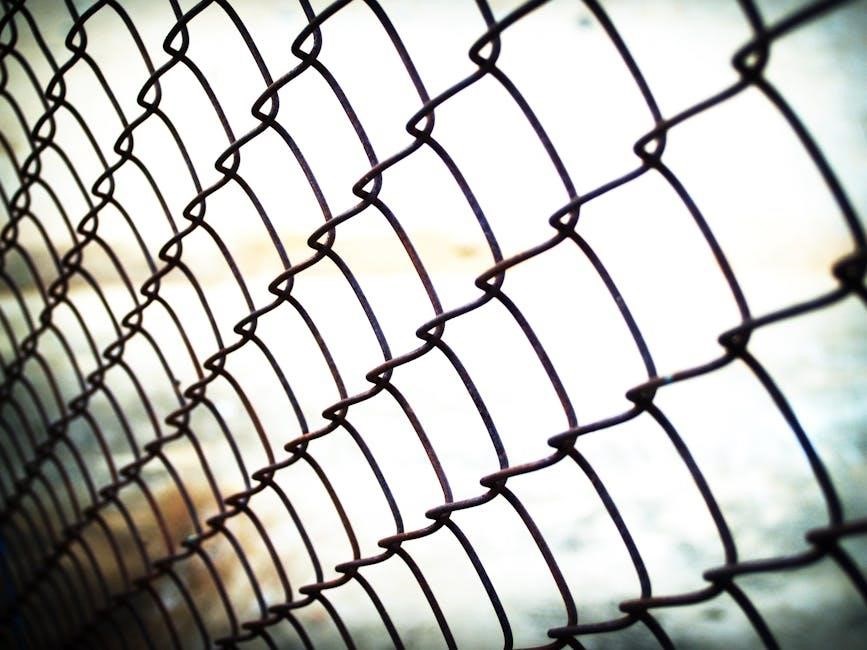
Fabric (Gauge & Coating Types)

Chain link fabric’s gauge (wire thickness) determines its strength and cost. Lower gauges are thinner and cheaper, suitable for residential use. Higher gauges offer greater security and durability for commercial or high-security applications.
Coatings protect against corrosion. Galvanized fabric is standard, providing good rust resistance. Vinyl-coated fabric offers superior protection and aesthetic appeal, available in various colors. Choosing the right gauge and coating ensures longevity and meets your security needs.
Fittings & Accessories (Tension Bands, Braces, Caps)
Essential fittings secure and stabilize your chain link fence. Tension bands, wrapped around posts, attach the fabric, ensuring a taut and secure installation. Braces, typically diagonal, provide crucial support, preventing swaying and increasing overall fence strength.
Post caps protect the tops of posts from weather damage and add a finished look. Tie wires and tension bars are also vital for fabric attachment. Selecting quality accessories guarantees a long-lasting, robust fence system.
Planning Your Fence Layout
Careful planning is key to a successful chain link fence installation. Begin by visualizing the desired fence line, considering both functionality and aesthetics. Accurate measurements are crucial; overestimate slightly to avoid material shortages.

Factor in gate locations for convenient access. Before digging, meticulously map underground utilities to prevent damage. A well-planned layout ensures a secure, visually appealing, and legally compliant fence installation, maximizing your property’s value and security.
Property Line Verification
Confirming property boundaries is paramount before commencing any fence work. Consult your property deed and local county records to pinpoint exact line locations. A professional survey is highly recommended, especially if boundaries are unclear or disputed.
Avoid potential legal conflicts with neighbors by verifying line placement with them directly. Accurate verification prevents encroachment issues and ensures your fence remains entirely within your legal property limits, safeguarding your investment.
Gate Placement Considerations
Strategic gate positioning enhances accessibility and functionality. Consider traffic flow – pedestrian and vehicular – when deciding on gate locations. Ensure sufficient space exists beyond the gate swing for safe operation and avoid obstructions like trees or landscaping.
Think about privacy needs; a gate near a patio might benefit from added screening. Proper placement minimizes disruption to yard usage and maximizes convenience for accessing your property. Plan for future needs too!
Post Installation – The Foundation
Robust post installation is paramount for a long-lasting fence. Accurate post placement dictates the entire fence line’s stability. Digging precise holes, adhering to recommended depth requirements (typically 2-3 feet), is crucial.
Setting posts securely with concrete provides unwavering support against wind and stress. Ensure posts are plumb (perfectly vertical) before the concrete sets. Proper bracing during the curing process prevents shifting and guarantees a straight, reliable fence structure.
Hole Digging & Depth Requirements
Precise excavation is the first step. Hole diameter should be three times the post’s width. Depth varies based on frost line and soil conditions, generally 24-36 inches is recommended.
In colder climates, exceeding the frost line prevents upheaval. Use a post hole digger or auger for efficiency. Ensure hole bottoms are level for consistent post height. Proper depth anchors the post, resisting wind loads and maintaining fence integrity throughout changing seasons.
Setting Posts with Concrete
Concrete secures posts, providing stability. Mix concrete according to package directions – a consistent, workable blend is crucial. Pour concrete around the post, filling the hole to a few inches below ground level.
Use a tamper to eliminate air pockets, ensuring full contact. Slope the concrete away from the post to promote water runoff. Allow concrete to cure fully (typically 24-72 hours) before proceeding with fence construction, guaranteeing a robust foundation.
Attaching the Chain Link Fabric
Begin by installing the top rail, connecting sections securely to posts using brackets or tension bands. Unroll the chain link fabric near the starting post, ensuring it’s oriented correctly. Attach the fabric to the top rail using tie wires, spaced evenly along the length.
Initially, loosely attach the fabric to allow for tensioning later. Secure the bottom of the fabric with tension wire and tie wires, maintaining consistent spacing for a professional finish.
Top Rail Installation
Begin by carefully measuring and cutting the top rail sections to fit between posts, ensuring a snug but not overly tight fit. Attach the rails to the posts using rail caps, brackets, or tension bands – select hardware appropriate for your post type.
Ensure rails are level and aligned, creating a smooth, continuous line along the fence. Overlap sections slightly where they join, providing added strength and stability to the overall structure.
Fabric Unrolling & Initial Attachment
Carefully unroll the chain link fabric, avoiding kinks or twists, and position it near the first post. Begin attaching the fabric to the top rail using tie wires or hog rings, spacing them approximately every 12-18 inches.
Initially, loosely attach the fabric, focusing on securing the top edge. This allows for easier tensioning later. Ensure the fabric’s selvage edge (finished side) faces outward for a cleaner appearance and increased durability against weathering.
Tensioning the Chain Link Fabric
Achieving proper tension is crucial for a long-lasting chain link fence. Utilize a come-along or chain stretcher, attaching it to the fabric and a sturdy anchor post. Gradually apply tension, ensuring even distribution along the fence line.
Avoid over-tensioning, which can damage the fabric or posts. Regularly check the tension bands and posts for any signs of stress during the process, making adjustments as needed for optimal results.
Using a Come-Along or Chain Stretcher
A come-along or chain stretcher is essential for uniformly tightening the chain link fabric. Securely attach the tool to the fabric’s end and a line post, ensuring a strong connection. Slowly ratchet the tool, applying consistent pressure to stretch the fabric taut.
Monitor the fabric and posts for any bending or distortion during tensioning. Gradual application prevents damage and ensures a professional, secure fence installation.
Securing Tension Bands
Once the fabric is adequately stretched, secure the tension bands to the terminal posts. These bands grip the fabric, maintaining the applied tension. Ensure each band is fully engaged and evenly spaced along the post.
Use tension band crimps to permanently lock the bands in place, preventing slippage. Regularly inspect these crimps for tightness, guaranteeing long-term fence stability and preventing future sagging or loosening of the chain link.
Gate Installation
Proper gate installation is crucial for functionality and security. Begin with precisely aligned gate posts, ensuring they are plumb and securely set in concrete. Accurate alignment prevents binding and ensures smooth operation.
Next, attach hinges to both the gate frame and the gate post, verifying they are level. Finally, install the latch mechanism, confirming it engages securely. A well-installed gate enhances the overall effectiveness of your chain link fence system.
Gate Post Installation & Alignment
Gate posts require extra stability due to the gate’s weight and frequent use. Dig holes slightly wider and deeper than standard fence posts, providing a robust foundation. Use concrete generously, ensuring the post is perfectly plumb during setting.
Precise alignment is paramount; utilize a level and string line to guarantee posts are vertically aligned and spaced correctly for the gate’s width. Incorrect alignment leads to operational issues and reduced security.
Gate Hinge & Latch Installation
Securely attaching hinges is crucial for smooth gate operation. Use heavy-duty hinges designed for chain link, bolting them firmly to both the gate post and the gate frame. Ensure hinges are properly aligned to prevent sagging or binding.
Install the latch mechanism, verifying it engages smoothly and securely. Adjust as needed for optimal functionality. A well-installed latch provides essential security, preventing unauthorized access through the gate opening.
Finishing Touches & Safety
Post caps add a polished look and protect against weather damage. Inspect all connections, tightening bolts and ensuring tension bands are secure. Remove any debris from the installation area, creating a safe environment.
Prioritize safety throughout the process! Wear gloves and eye protection. Be mindful of underground utilities before digging. Properly dispose of concrete and packaging materials. A completed fence should be inspected regularly for any potential hazards.
Common Installation Problems & Solutions
Uneven ground can cause sagging; adjust post heights accordingly or terrace the area. Incorrect tensioning leads to loose fabric – re-stretch using a come-along. Gate alignment issues require shimming the hinges or adjusting the post position.
Rust prevention is crucial; apply galvanized coating to any exposed metal. Always double-check property lines before digging to avoid disputes. Consult the guide’s troubleshooting section for detailed solutions to common challenges.
Chain Link Fence Maintenance
Regular inspections are key to a long-lasting chain link fence. Annually check posts for stability and concrete integrity, repairing cracks promptly. Remove any vegetation growing on or near the fence to prevent corrosion and damage.
Address rust spots immediately with a wire brush and galvanized paint. Tighten any loose tension bands or fittings. The installation guide’s maintenance section offers detailed cleaning and repair instructions for optimal fence longevity.
Local Regulations & Permits
Before starting your project, thoroughly research local zoning laws and homeowner association rules regarding fence height, materials, and placement. Many municipalities require permits for fence installation, ensuring compliance with safety and aesthetic standards.
The installation guide PDF often includes links to resources for finding local regulations. Failing to obtain necessary permits can result in fines or removal orders, so diligent research is crucial for a hassle-free installation.
Cost Estimation for Chain Link Fence Installation
Estimating costs requires considering several factors: materials (post type, fabric gauge), labor (if hiring professionals), and site conditions. A comprehensive installation guide PDF often provides material cost breakdowns and regional labor rate averages.
Expect expenses for posts, fabric, top rail, fittings, concrete, and potentially gate hardware. Remember to factor in potential costs for permits and site preparation, like clearing vegetation. Accurate budgeting prevents unwelcome surprises during the project.
DIY vs. Professional Installation
Deciding between DIY and professional installation hinges on your skillset, time availability, and project complexity. A detailed installation guide PDF can empower capable homeowners, but larger or more intricate projects often benefit from expert assistance.
Professionals offer experience, efficiency, and potentially warranties, justifying higher costs. DIY saves on labor but demands physical effort and adherence to local regulations. Carefully assess your capabilities before committing to either approach.
Chain Link Fence Privacy Options (Slats)
Enhance your chain link’s privacy with interlocking slats, readily available in various colors and materials. A comprehensive installation guide PDF often includes specific instructions for slat attachment, ensuring a secure and aesthetically pleasing result.
Slats offer increased seclusion without replacing the entire fence. Consider wind load requirements when selecting slat density; tighter weaves provide more privacy but may increase wind resistance. Proper installation is crucial for longevity and visual appeal.
Resources & Further Information (PDF Guides)
Numerous online resources offer detailed chain link fence installation guide PDFs. These guides frequently include step-by-step instructions, diagrams, and material lists, simplifying the process for DIY enthusiasts. Manufacturer websites are excellent sources for product-specific guidance.
Local hardware stores and home improvement centers often provide printable guides or links to digital versions. Consulting these resources ensures a thorough understanding of best practices and safety precautions before commencing your fencing project.